Once you get the hang of it, Amazon’s cover design builder is pretty good.
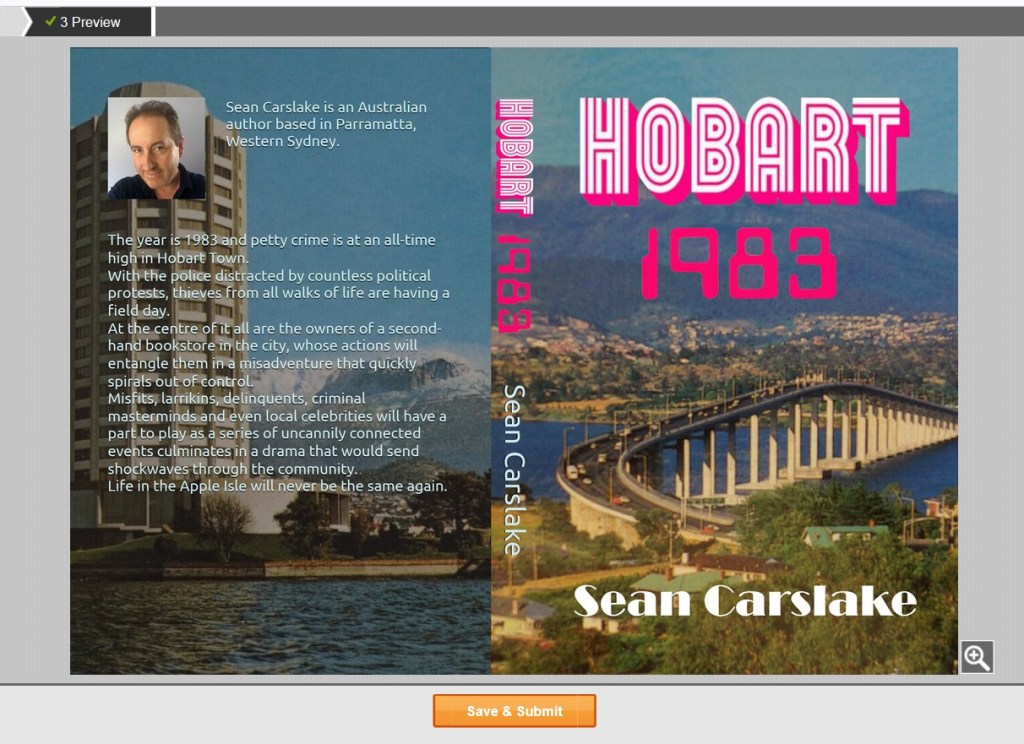
The screenshot below is of my final, ready-to-print cover art.
Using photo editing software, I firstly join two separate images: – one for the back cover and the other for the front and spine, ensuring that I make them larger than needed for the print bleed.
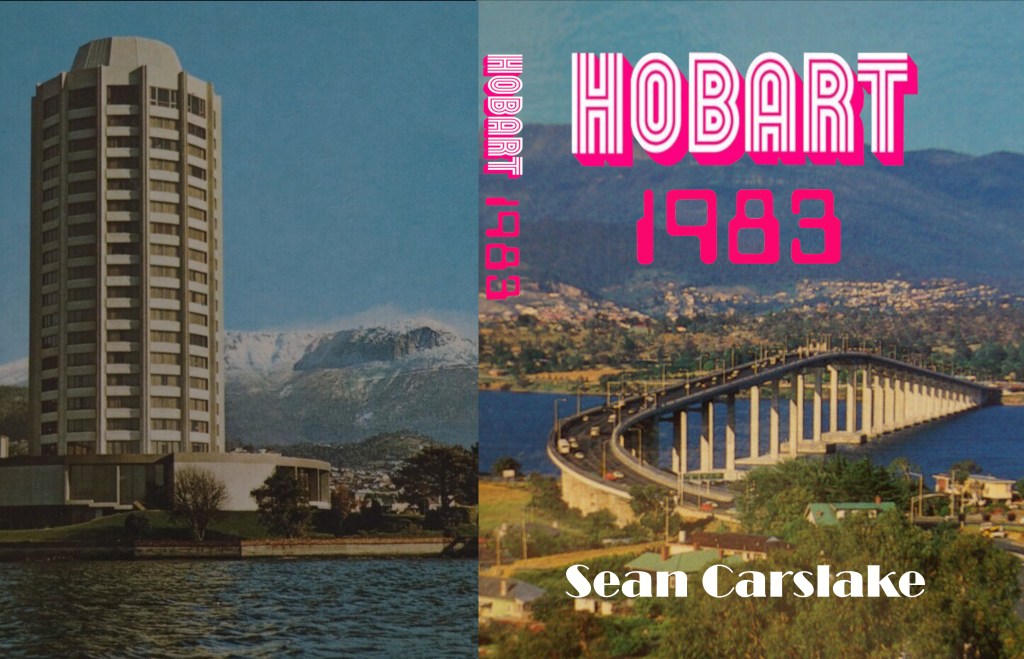
If you wish to use your own font and title design, you must superimpose this to the artwork before uploading to Amazon’s cover creator, as you can see in the above image.
From there, Cover Creator will ‘fill in the blanks’. When comparing both templates, note that the author profile, book blurb and author name on the spine were added by the Amazon software – and they are placed perfectly according to the printing requirements.
Getting the exact measurements can be a pain, and it involves a lot of adjustments back and forth until the print areas are lined up perfectly within the allocated borders. I tend to start with the spine and once that is in place, it is easier to set up both front and back covers.
At the time of writing, my cover had already passed the publishing standards, but the paperback itself is still pending. Once it is approved, I will order an author copy of the book to undergo final checks.
